- Level: Beginner
- Pose type: Standing
- Body area: Legs · Ankles · Core · Spine
- Props: wall, chair, block
Mountain Pose (Tadasana)
Pronounced tah-DAHS-ah-nah
Quick answer
Stand with your feet hip-width apart, or big toes together, and spread your weight evenly over both feet. Firm your legs without locking your knees, let your arms hang by your sides, and grow tall through the crown of your head while you breathe slowly.
We may earn a commission when you buy through links on this page. It never changes what we recommend. As an Amazon Associate we earn from qualifying purchases.
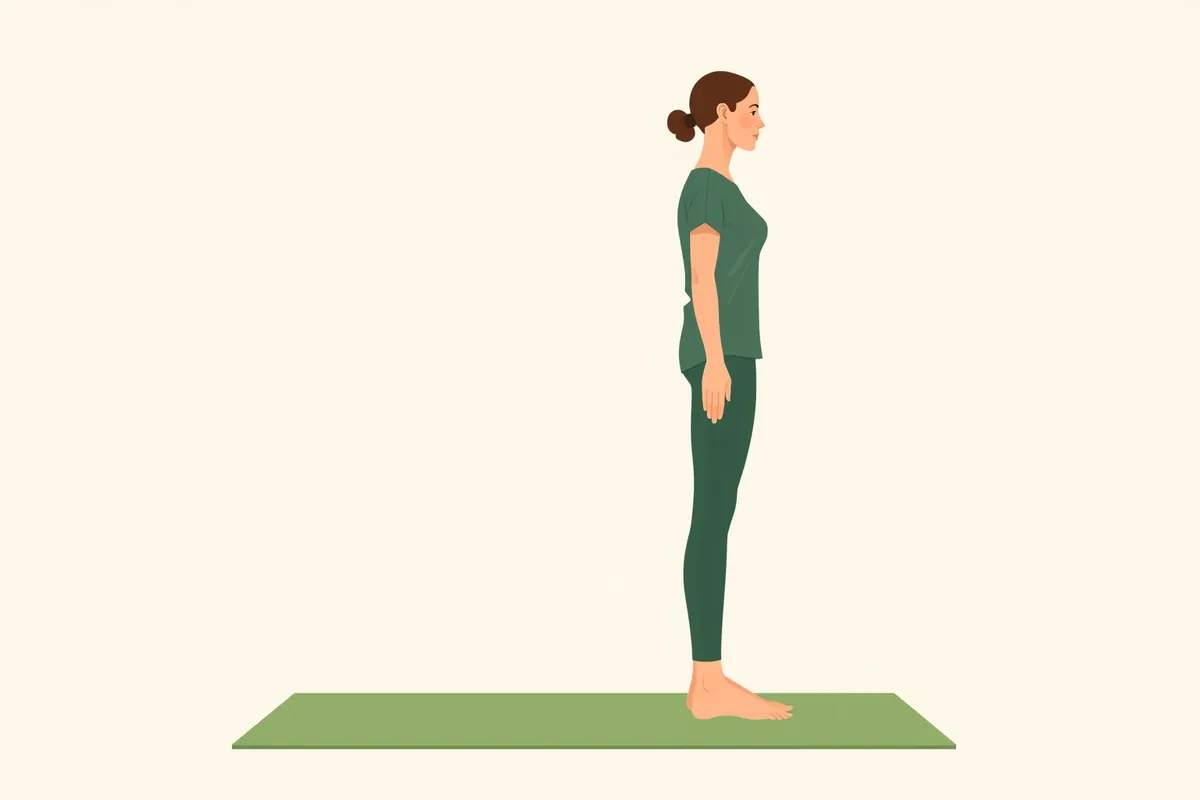
Mountain Pose is standing still on purpose. You stand on both feet and pay attention to how you’re standing: where your weight falls, what your knees and pelvis are doing, and how to stay tall without going stiff. It looks like nothing much, but it sets up most standing poses, and many classes and sun salutations begin from it.
Anyone who can stand can practice it, and there is a seated version for anyone who can’t stand for long. You’ll find more poses in our pose library. If you’re just starting out, read yoga for beginners and how to start yoga at home.
In this guide
How to do Mountain Pose
- Stand on your mat with your feet parallel, about hip-width apart. If it feels steady, you can instead bring your big toes together with a small gap between your heels.
- Lift all ten toes and fan them out, then lay them back down, long and relaxed.
- Notice how your weight sits on your feet. Share it evenly between your right and left foot, and between the front of each foot and the heel.
- Feel three points of each foot on the floor: the ball of the foot behind your big toe, the ball behind your little toe and the middle of your heel.
- Straighten your legs without pushing your knees backward. Firm the fronts of your thighs a little, as if your kneecaps were drawing up.
- Let your pelvis settle in neutral, neither tipped forward into a big arch nor tucked under. A gentle inward curve in your lower back is normal.
- Draw your lower belly in slightly, just enough to feel your trunk support you, and keep breathing.
- Lift your breastbone a little and let your collarbones spread wide. Let your shoulder blades settle down your back, so your shoulders stay away from your ears.
- Let your arms hang loose beside your body, palms turned in or forward, whichever feels more natural.
- Bring your head back over your shoulders with your chin level. Grow tall through the top of your head, and soften your face and jaw.
- Breathe slowly for 5 to 10 breaths. To finish, let the effort go and move on to your next pose.
Alignment cues
- Side view: your ears, shoulders, hips, knees and ankles sit roughly one above the other.
- Feet: if you can’t tell where your weight is, rock gently toward your toes and back toward your heels a few times, then settle halfway between.
- Knees: straight but soft, with your kneecaps facing the same way as your toes.
- Thighs: quietly active, not clenched. A block between your thighs can help you feel this (see below).
- Ribs: your lower front ribs stay in line with your pelvis instead of poking forward.
- Chest and shoulders: wide and easy. Think of broad collarbones, not a puffed-out chest.
- Head: stacked over your shoulders, with the back of your neck long. Look straight ahead at one still point.
- Effort: enough to stand tall, never so much that you grip or hold your breath.
Common mistakes
- Locked knees. Pressing your knees all the way back is a common standing habit. Keep your legs straight but soft, and if your knees tend to bend backward, keep a tiny bend in them.
- Standing at attention. A puffed chest, shoulders pinned back and clenched muscles make the pose rigid. Mountain Pose should feel tall and relaxed at the same time.
- Tucking or sticking out the tailbone. Squeezing your buttocks to tuck the pelvis under flattens your lower back. Tipping the pelvis forward does the opposite and deepens the arch. Aim for the middle.
- Ribs flaring. When the lower ribs push forward, the lower back usually arches with them. Let the front ribs soften down.
- Weight drifting into the heels or toes. It’s easy to lean back on your heels or tip forward without noticing. Rock to find the middle again.
- Chin poking forward or tipped up. Slide your head back over your shoulders and keep your chin level.
- Holding your breath. Keep breathing slowly through the whole hold.
Watch out for: dizziness, lightheadedness or feeling faint while you stand still. Sit or lie down right away. If you actually faint, see a doctor, even if it’s the first time, and talk to your doctor if the lightheaded feeling keeps coming back (MedlinePlus).
Make it easier (props)
- Wall check. Stand with your heels an inch or two from a wall. Let your buttocks, shoulder blades and the back of your head touch it lightly, with small gaps behind your neck and lower back. If your head reaches the wall only when you tip your chin up, leave a gap there instead. Then step forward and keep the same shape.
- Feet wider apart. Hip-width or a little wider gives you a broader, steadier base than feet together.
- A wall or chair within reach. If you feel unsteady, stand next to a wall or the back of a sturdy chair and touch it for support as often as you like. Cleveland Clinic suggests standing near a wall if you’re unsteady.
- Block between the thighs. Hold a yoga block between your upper inner thighs and squeeze it lightly. It gives your legs something to work against, so it’s easier to feel them engage.
- Seated Mountain Pose. Choose a sturdy chair without wheels and sit forward on the seat, away from the backrest. Plant your feet about as wide as your hips, shins roughly upright. If your feet don’t reach the floor, rest them on blocks or books. Sit tall, let your hands rest on your thighs and breathe slowly. It’s a good option if standing for long is hard. See chair yoga for more seated poses.
- Mirror. Stand side-on to a mirror and check that your ears are over your shoulders and your shoulders over your hips.
Variations
- Arms overhead. Breathe in and sweep your arms up, palms turned toward each other or pressed together. Keep your shoulders away from your ears and your ribs from flaring. Breathe out and lower your arms. If a shoulder is sore or injured, lift your arms only as high as is comfortable.
- Hands at your chest. Press your palms together in front of your breastbone and take a few breaths there before your next pose.
- Eyes closed. With a wall within reach, close your eyes for a few breaths and notice how your body makes small corrections to stay balanced. Skip this if you have balance problems or get dizzy.
Poses to do before and after
- Start here: Mountain Pose is a natural first pose for a home session. In Cleveland Clinic’s sun salutation guide, it is the quiet moment before the sequence begins.
- Step into: Warrior II, or balance on one leg in Tree Pose.
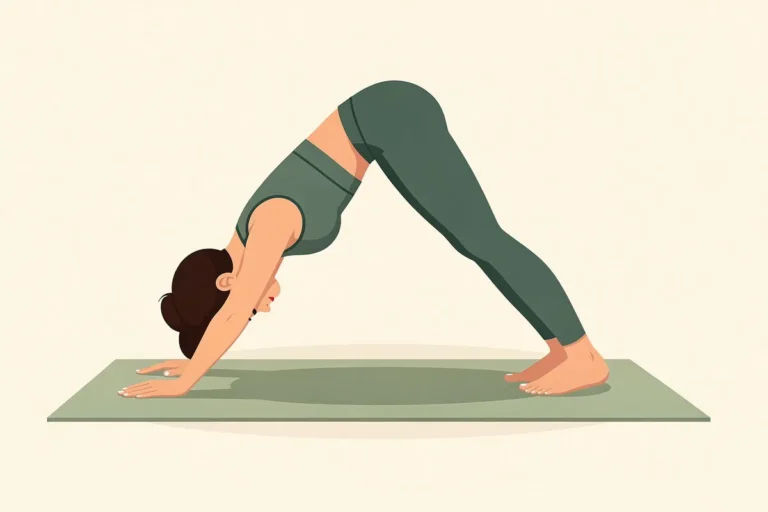
- Coming up from the floor: from Downward-Facing Dog, step your feet forward between your hands, hang loosely for a breath, then come up to standing slowly, head last.
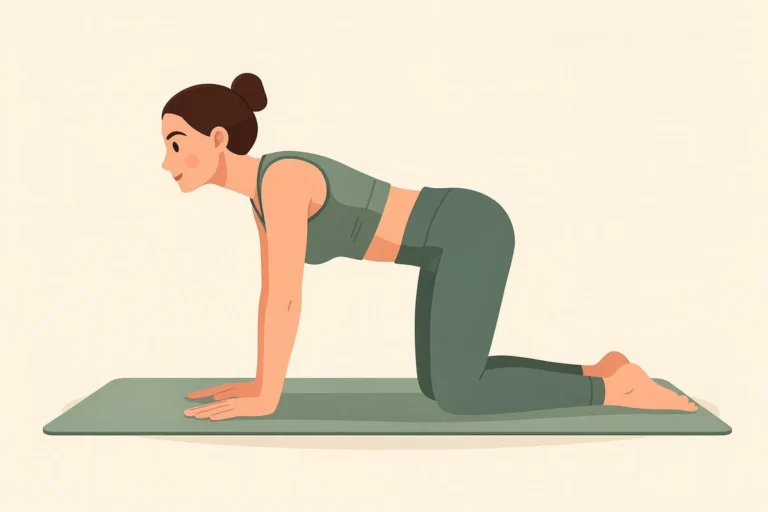
- Before standing work: a few rounds of Cat-Cow warm up your spine.
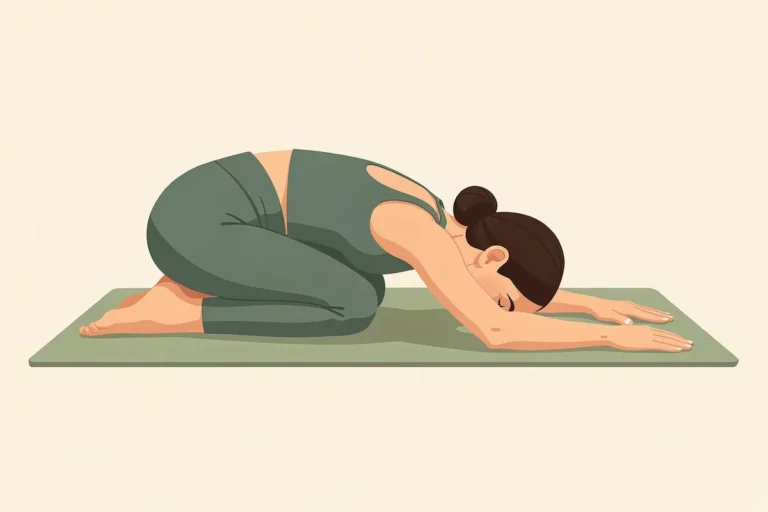
- To rest afterward: kneel and fold into Child’s Pose.
- Read next: how long to hold a yoga pose.
Who should skip it or ask a doctor first
- Balance problems, dizziness or a history of falls. Balance problems are on the NCCIH‘s list of conditions that can call for a modified practice. Keep a wall or a sturdy chair within reach, keep your eyes open, or use the seated version.
- Lightheadedness or fainting when you stand still. Standing in one place for too long is one of the situations in which fainting can happen (MedlinePlus). Keep your holds short, shift your weight now and then, and sit down at the first sign of lightheadedness. If you have low blood pressure, ask your doctor about standing poses. MedlinePlus lists getting up slowly, and for one type of low blood pressure not standing for long periods, among the ways to prevent symptoms.
- Pregnancy. Before exercising in pregnancy, get a check from your health care provider, the NCCIH advises. It also says to avoid poses with long stretches of stillness or lying on your back. Keep Mountain Pose short, stand with your feet a little wider apart, and keep a wall or chair nearby. If you need a break, sit in a chair. Don’t practice on an empty stomach, and stop if you feel too hot or unwell (NHS).
- Knee, hip or lower-back problems. The same NCCIH list includes knee or hip injuries and disease of the lower (lumbar) spine. Keep a slight bend in your knees, don’t force your pelvis or lower back into a particular shape, and ask your doctor or physical therapist what’s right for you.
- Older adults. The NCCIH advises older adults to take particular care, and reports that people 65 and older end up in the emergency room with yoga injuries at a higher rate than younger adults. Keep a chair or wall within reach in standing poses.
What the research says
Evidence: no good evidence
No trial we found has tested Mountain Pose by itself for any health benefit, so the label here is “No good evidence.” That includes two claims you’ll often see online: better posture and extra height.
- The fainting studies. The only clinical studies we found with Tadasana in their titles, a 2022 pilot and a 2024 follow-up from the same team in India, tested something different. In the 2024 study of 157 people with vasovagal syncope (reflex fainting), the average number of fainting and near-fainting episodes per person fell from about 5 to 0.3 after a care plan that combined counseling, fluids, physiotherapy and a “Tadasana maneuver.” There was no comparison group, and the plan had several parts, so the study can’t show what the maneuver did by itself (Rao et al., 2024). In the 2022 pilot (Rao et al., 2022), the “Tadasana maneuver” was a movement routine, not the still pose on this page: the lead author told a news outlet that patients lifted their toes, then their heels, then rose onto their toes with their arms overhead, in time with the breath, for 15 minutes twice a day (news report, MDedge 2022). The 2024 report doesn’t describe the routine.
- Height. Your long bones get their adult length from growth plates, which close and turn into solid bone sometime during the teen years (NIAMS). We found no study showing that any yoga pose changes adult height.
Mountain Pose earns its place for practical reasons: it gives you a steady, repeatable starting point for other standing poses.
Frequently asked questions
Should your feet be together or apart in Mountain Pose?
Either way is correct, and teachers differ. Feet hip-width apart give you a wider base, which usually feels steadier, so it’s a sensible choice in pregnancy or if your balance is shaky. Big toes together with heels slightly apart asks a little more of your balance.
How long should you hold Mountain Pose?
5 to 10 slow breaths is plenty on its own. In your first weeks, 3 to 5 is fine too. Cleveland Clinic suggests half a minute to a minute, building up as the pose gets easier. Between other standing poses, a breath or two is enough. Come out sooner if you feel lightheaded. More on timing: how long to hold a yoga pose.
Is Mountain Pose the same as Downward-Facing Dog?
No. In most English-language classes, Mountain Pose means Tadasana, the standing pose on this page. Some sun salutation sequences, though, use the name “mountain pose” (Parvatasana) for an upside-down V shape like Downward-Facing Dog, as Cleveland Clinic’s sun salutation guide does. If a video says “mountain” while everyone has their hands on the floor, that’s the pose it means.
Does Mountain Pose improve your posture?
We found no study that tested it. Mountain Pose gives you a moment to notice how you usually stand and to practice a balanced alternative. Whether doing it regularly changes how you stand the rest of the day is still an open question.
Does Mountain Pose (Tadasana) increase height?
No. Your bones stop growing in length once the growth plates close, sometime during the teen years (NIAMS), and no study we found shows that any yoga pose adds height after that. Standing up straight can make you look taller, but that’s posture, not growth.
Can you do Mountain Pose sitting down?
Yes. Seated Mountain Pose uses the same setup from the hips up: sit tall toward the front of a sturdy chair with both feet flat (see “Make it easier” above). Cleveland Clinic describes a seated version too.
Sources
- National Center for Complementary and Integrative Health (NCCIH). Yoga: Effectiveness and Safety. Last updated August 2023., checked Nov 5, 2026
- MedlinePlus (U.S. National Library of Medicine). Fainting. Reviewed May 19, 2025., checked Nov 5, 2026
- MedlinePlus (U.S. National Library of Medicine). Low blood pressure. Reviewed January 1, 2025., checked Nov 5, 2026
- National Institute of Arthritis and Musculoskeletal and Skin Diseases (NIAMS). Growth Plate Injuries. Last reviewed December 2023., checked Nov 5, 2026
- Rao BH, Gowlikar V, Vooturi S, Raj JP, Surath M. Management of patients with Reflex Vasovagal syncope with a protocol involving a yoga maneuver Tadasana. Int J Cardiol. 2024;412:132302., checked Nov 5, 2026
- Hughes S. Yoga maneuver may prevent vasovagal syncope. MDedge (The Hospitalist). February 2022. News report on Rao BH et al., JACC Clin Electrophysiol. 2022;8(2):253-254., checked Nov 5, 2026
- Cleveland Clinic. Mountain Pose (Tadasana): Benefits and How To Do It. Health Essentials. October 27, 2025., checked Nov 5, 2026
- Cleveland Clinic. A Step-By-Step Guide to Sun Salutations. Health Essentials. October 28, 2025., checked Nov 5, 2026
- Rao BH, Gowlikar V, Vooturi S, Benditt DG, Rao HN, Surath M. ‘Tadasana’ yoga maneuver for preventing vasovagal syncope recurrences: a pilot study. JACC Clin Electrophysiol. 2022;8(2):253-254., checked Nov 5, 2026
- NHS. Exercise in pregnancy., checked Nov 5, 2026
Image credits: Illustration: AI-generated for YogaForFitness (FLUX.1 [schnell], run locally), checked for pose accuracy