- Level: Beginner
- Pose type: Inversion · Forward fold
- Body area: Hamstrings · Calves · Shoulders · Arms
- Props: block, blanket, chair, wall
Downward-Facing Dog (Adho Mukha Svanasana)
Pronounced AH-doh MOO-kah shvah-NAHS-ah-nah
Quick answer
Start on your hands and knees, tuck your toes and lift your hips up and back until your body makes an upside-down V. Bend your knees as much as you need to keep your back long. Your heels don't have to touch the floor.
We may earn a commission when you buy through links on this page. It never changes what we recommend. As an Amazon Associate we earn from qualifying purchases.
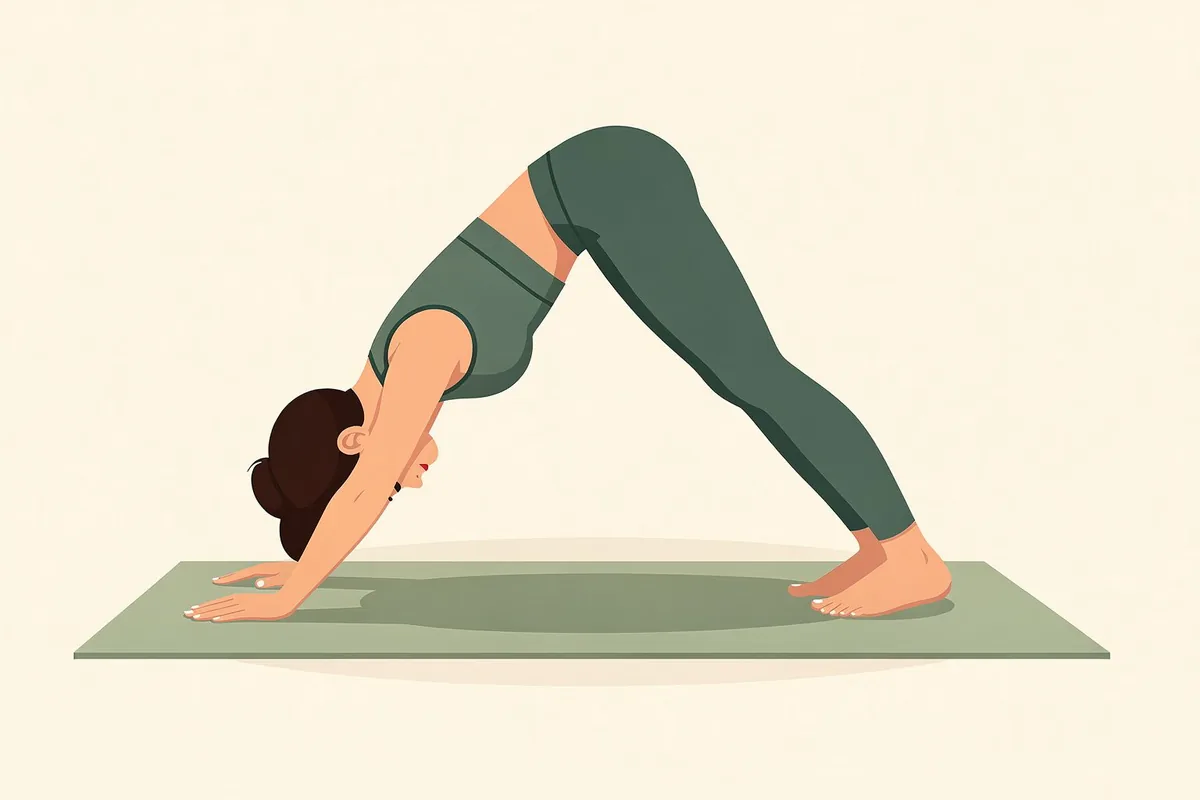
Downward-Facing Dog, or Down Dog for short, is a foundation pose in many styles of yoga. Your hands and feet stay on the floor and your hips become the highest point, so your body forms an upside-down V. In flowing classes it links other poses together, and it is also a place to pause and breathe.
The shape looks simple, yet it can feel like hard work at first. Your arms and shoulders hold up part of your weight while tight calves and hamstrings pull your hips down. The answer is usually to bend your knees and put a long back ahead of straight legs. This guide covers the setup, the cues and easier versions with a block, a chair or a wall. It is part of our pose library. New to yoga? Start with yoga for beginners.
In this guide
How to do Downward-Facing Dog
- Come onto your hands and knees on a non-slip yoga mat. Set your hands shoulder-width apart and slightly in front of your shoulders. Place your knees under your hips or a little behind them.
- Spread your fingers to a comfortable width, middle fingers pointing forward. Turn your hands so the creases of your wrists run straight across, parallel to the short edge of the mat in front of you.
- Press down through your whole hand, especially the base of your index finger and your thumb.
- Tuck your toes under, with your feet about hip-width apart.
- Breathe out and lift your knees off the floor. Send your hips up and back.
- Keep your knees bent for now. Lengthen your spine from your hands to your tailbone.
- If your back stays long, start to straighten your legs. Let your heels sink toward the floor without forcing them down.
- Keep your head between your upper arms, in line with your spine. Relax your neck, but don’t let your head dangle. Look back toward your knees or feet.
- Stay for 3 to 5 slow breaths. To come out, breathe out, lower your knees to the floor and sit back toward your heels.
Alignment cues
- Hands: keep the knuckles at the base of your index fingers pressing down, so your weight doesn’t roll into the outer edges of your wrists.
- Arms: straight but not locked. Turn your upper arms slightly outward, the right arm to the right and the left arm to the left. This widens your upper back and gives your neck more room.
- Shoulders: let them move away from your ears instead of shrugging up.
- Head and neck: in line with your spine, ears roughly level with your upper arms. Don’t lift your head to look forward, and don’t tuck your chin hard.
- Back and hips: long and fairly flat from your hands to your hips. Lift your hips up and away from your hands, toward the wall behind you.
- Legs: knees point forward. Firm your thigh muscles as you straighten your legs, so your thighbones move back toward the wall behind you.
- Distance: if the pose feels cramped or stretched out, reset it from a plank: lift your hips up and back without moving your hands or feet.
Common mistakes
- Straightening the legs at the cost of the back. If your lower back rounds when your legs are straight, bend your knees until it lengthens again.
- Chasing your heels to the floor. Tight calves and hamstrings keep the heels up for lots of people. Reaching toward the floor is enough.
- Collapsing into the shoulders. If your chest sinks and your shoulders hunch toward your ears, push the floor away and lift your hips.
- Sinking into the wrists. When your weight rolls into the heels of your hands, your wrists take the strain. Spread the load across your fingers and knuckles, and shift more weight back into your legs.
- Locked elbows. If your elbows bend backward when you straighten your arms, keep a tiny bend in them.
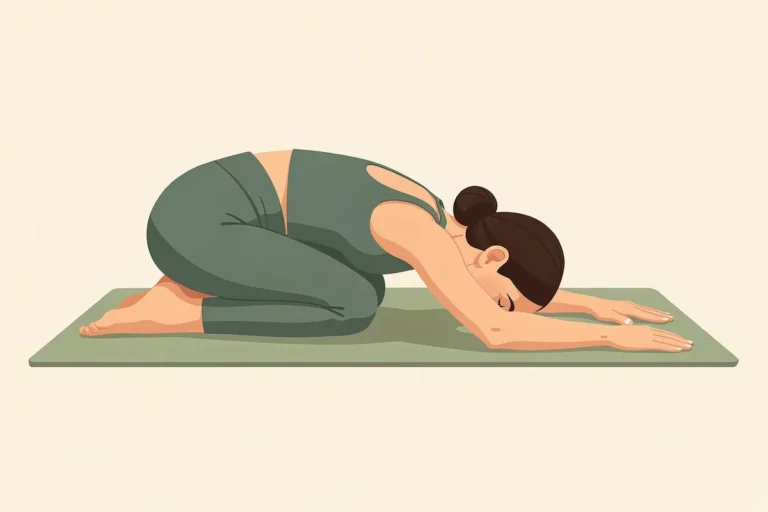
Watch out for: sharp or pinching pain in your wrists, shoulders or lower back. Lower your knees, rest in Child’s Pose and try one of the easier versions below.
Make it easier (props)
- Bend your knees generously. This is a complete version of the pose, not a cheat.
- Hands on blocks. Put two yoga blocks under your hands, at a low or middle height. The floor comes closer, which can make a long back easier to find.
- A blanket or rolled mat under your wrists. Fold a blanket, or roll up the front edge of your mat, and rest the heels of your hands on it with your fingers on the floor. This eases how far your wrists bend.
- Wall dog. Stand facing a wall and place your hands on it at about hip height. Walk your feet back until your arms and back are roughly parallel to the floor, feet under your hips. Your wrists carry far less weight this way.
- Chair dog. Push a sturdy chair against a wall so it can’t slide. Rest your hands on the back of the chair, or on the seat for a deeper version, and step back until your back is long.
- Forearms down (Dolphin). Lower onto your forearms, either on the floor or on two blocks set at their lowest height. This takes the weight off your wrists, though it still asks a lot of your shoulders.
Variations
- Pedaling the feet. Bend one knee while you press the other heel toward the floor, then switch. It’s a gentle way to warm up your calves.
- Three-Legged Dog. Reach one leg up and back in line with your body, foot flexed, with both hip points still facing the mat. Lower it and switch sides.
- Puppy Pose. Keep your knees on the floor under your hips and walk your hands forward until your chest lowers toward the mat. Skip it if you have a recent shoulder injury.
Poses to do before and after
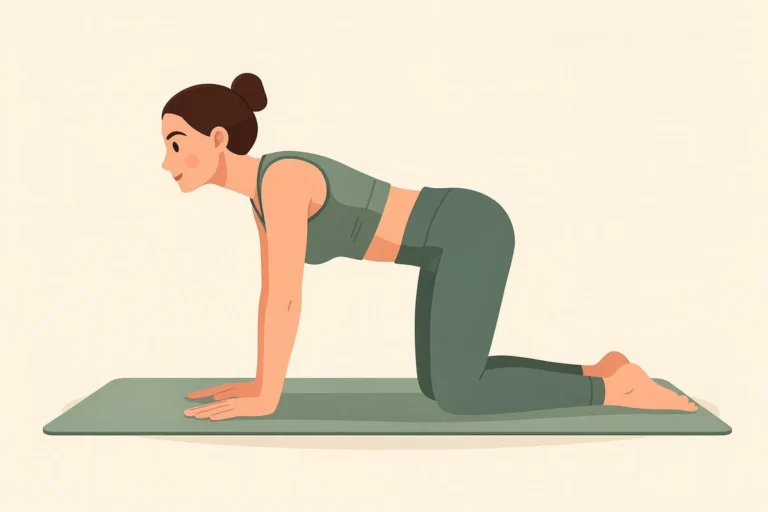
- Before: Cat-Cow warms up your spine and wrists from the same hands-and-knees start.
- Step forward: from Down Dog, step one foot between your hands into a Low Lunge.
- In a flow: in sun salutations, Down Dog often follows Cobra Pose or Upward-Facing Dog.
- After: rest in Child’s Pose. Or walk your feet up to your hands and roll up slowly to stand in Mountain Pose.
- Read next: how long to hold a yoga pose and yoga for tight hamstrings.
Who should skip it or ask a doctor first
- Glaucoma or other eye conditions. Your head is lower than your heart in this pose. In small studies, eye pressure rose quickly in Down Dog, in people with and without glaucoma (Jasien et al., 2015; Shajiei et al., 2024). Ask your eye doctor first. Wall dog and chair dog keep your head higher.
- Severe or uncontrolled high blood pressure. The NCCIH lists severe high blood pressure among the conditions that may call for changes to your yoga practice. Ask your doctor whether head-down poses are OK for you.
- Wrist, elbow, shoulder or ankle injuries. The NCCIH lists earlier injuries among those conditions too. Try the wall or chair version, or skip the pose, and ask your doctor or physical therapist.
- Heart conditions, dizziness or fainting spells. Your head goes below your heart in Down Dog. Cleveland Clinic advises talking to your health care provider before you try it if you have a heart condition or tend to get dizzy or faint. Wall dog and chair dog keep your head higher.
- Hip replacement. Down Dog bends the hip deeply (Mears et al., 2018). After a hip replacement, MedlinePlus advises against bending the hip past a right angle, especially in the first months. Ask your surgeon or physical therapist which positions are safe for you, and when.
- Pregnancy. The NCCIH advises getting checked by your health care provider before exercising and says you may need to modify some poses. If you feel dizzy or queasy, come down into Child’s Pose with your knees wide.
- Older adults. The NCCIH notes that older adults may need to be particularly careful, and that the rate of yoga injuries treated in emergency rooms is higher in people 65 and older than in younger adults.
What the research says
Evidence: no good evidence
We found no trial that tested Downward-Facing Dog on its own for a health benefit, so there is no good evidence either way. What exists are small lab studies of the pose, and they mostly help with safety advice.
- Eye pressure. In 20 adults, half of them with glaucoma, eye pressure rose within a minute of moving into Down Dog, from about 17 to 28 or 29 mmHg on average. It was back to its starting level within two minutes of sitting up (Jasien et al., 2015). A 2024 study of 50 adults saw the same pattern, and Down Dog gave the largest rise of the four head-down poses tested (Shajiei et al., 2024). Whether these short rises harm the eyes over time is not known.
- Muscles. In 30 healthy people with more than three months of yoga practice, Down Dog was one of three poses singled out for working the muscles along the sides of the abdomen (Ni et al., 2014). A 2023 lab study of 22 young yoga-trained adults found that Down Dog asked little of the other trunk and hip muscles it measured, all under 20% of their maximum effort (Dewan et al., 2023).
- Hips. Motion capture of 20 regular practitioners showed that Down Dog takes the hip into deep flexion (Mears et al., 2018).
These findings help with safety advice. They don’t show that the pose, by itself, improves your health.
Frequently asked questions
Do your heels have to touch the floor in Downward Dog?
No. Your heels only need to reach toward the floor. Bend your knees, keep your back long, and let your heels stay wherever they land.
How long should you hold Downward-Facing Dog?
Start with 3 to 5 slow breaths, then lower your knees and rest. As the pose gets easier, you can build up to about a minute. There is more on timing in how long to hold a yoga pose.
Is Downward-Facing Dog an inversion?
A mild one. Your hips are higher than your heart, and your head is below it. That is why people with glaucoma or severe high blood pressure should check with a doctor first. It asks far less of you than a headstand or shoulder stand, which the NCCIH advises newcomers to avoid.
Is Downward Dog safe during pregnancy?
Ask your doctor or midwife first. The NCCIH says to get checked by your health care provider before you exercise in pregnancy, and notes that you may need to modify some yoga poses. If you get the OK, keep your knees bent and come down at any sign of dizziness or nausea.
Is Downward Dog supposed to hurt?
No. A strong stretch in your calves and the backs of your legs is normal. Sharp or pinching pain is not. As with other exercise, yoga can cause injuries (NCCIH). In a study that followed 354 people from two yoga studios for a year, about 1 in 10 developed new pain caused by yoga (Campo et al., 2018). Ease off, use the wall or chair version, and see a doctor or physical therapist if the pain lasts.
Sources
- National Center for Complementary and Integrative Health (NCCIH). Yoga: Effectiveness and Safety. Last updated August 2023., checked Nov 4, 2026
- Jasien JV, Jonas JB, de Moraes CG, Ritch R. Intraocular Pressure Rise in Subjects with and without Glaucoma during Four Common Yoga Positions. PLoS One. 2015;10(12):e0144505., checked Nov 4, 2026
- Shajiei TD, Wachtl J, Schuknecht A, Bachmann L, Kniestedt C. The Effect of Yoga on Intraocular Pressure Using the iCare HOME2 Tonometer. Klin Monbl Augenheilkd. 2024;241(4):347-354., checked Nov 4, 2026
- Ni M, Mooney K, Harriell K, Balachandran A, Signorile J. Core muscle function during specific yoga poses. Complement Ther Med. 2014;22(2):235-243., checked Nov 4, 2026
- Mears SC, Wilson MR, Mannen EM, Tackett SA, Barnes CL. Position of the Hip in Yoga. J Arthroplasty. 2018;33(7):2306-2311., checked Nov 4, 2026
- MedlinePlus (U.S. National Library of Medicine). Taking care of your new hip joint. Reviewed November 7, 2024., checked Nov 4, 2026
- Campo M, Shiyko MP, Kean MB, Roberts L, Pappas E. Musculoskeletal pain associated with recreational yoga participation: A prospective cohort study with 1-year follow-up. J Bodyw Mov Ther. 2018;22(2):418-423., checked Nov 4, 2026
- Cleveland Clinic. Yoga Poses 101: How To Do a Downward Dog Pose. Health Essentials. 2025., checked Nov 4, 2026
- Dewan M, Nijhawan M, Chhabra HS, et al. Electromyographic analysis of trunk and hip muscles during Yoga poses prescribed for treating chronic low back pain. J Bodyw Mov Ther. 2023;36:117-124., checked Nov 4, 2026
Image credits: Illustration: AI-generated for YogaForFitness (FLUX.2 [pro]), checked for pose accuracy